|
|
Post by kliff on Mar 6, 2008 15:50:15 GMT -5
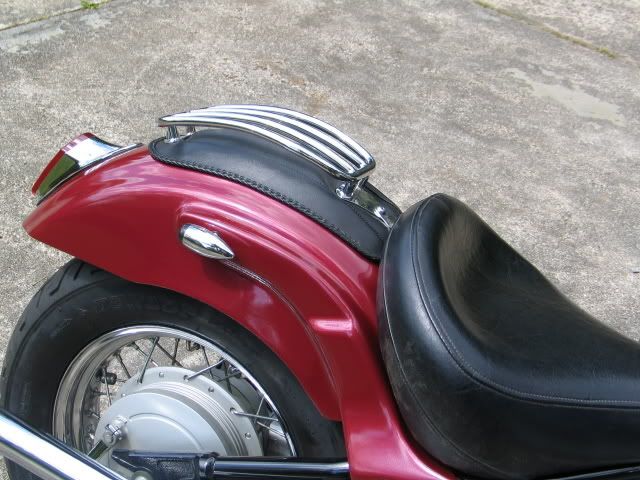
Just started this project in earnest, last week. Cathy "had" one sweet V-Star 650 Classic, all set for the road, and some serious cruising. From this, to this... 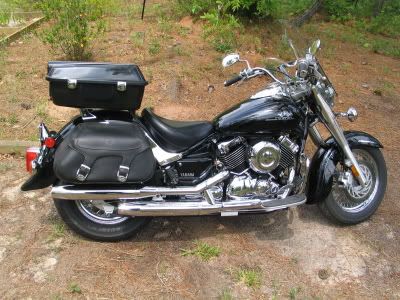 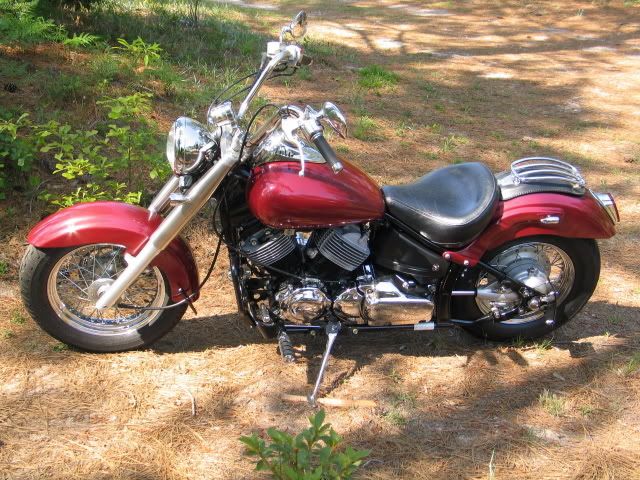 But all that is starting to change...The bags and tour box are gone, the rear fender "bobbed," fender struts shortenned 4" and welded to the fender...  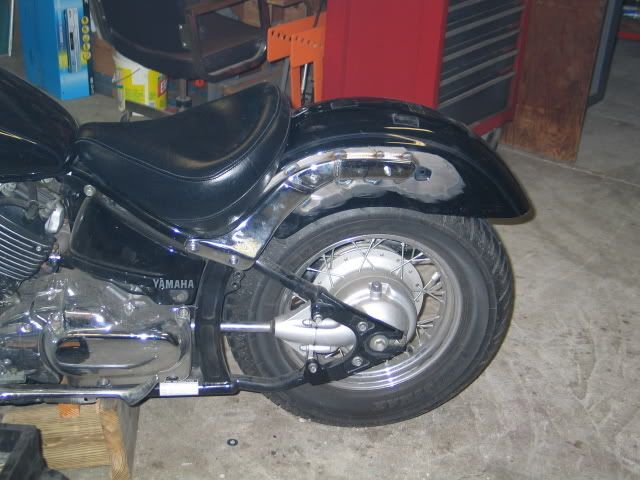 Foot boards gone, base mounts being converted to forward controls... 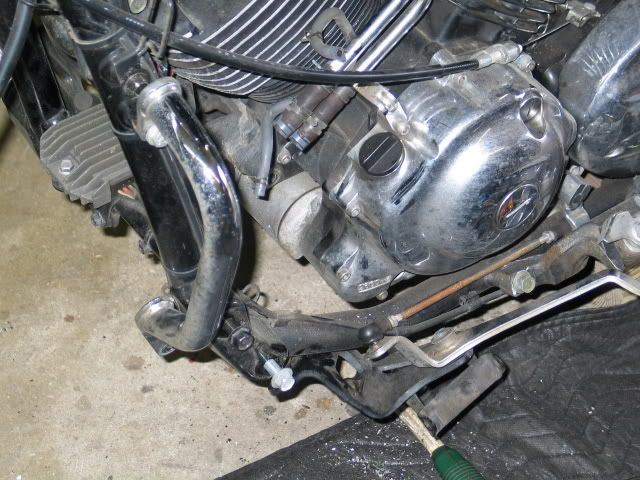 Winsheild and turn signalbar, GONE, fender: being "bobbed..." 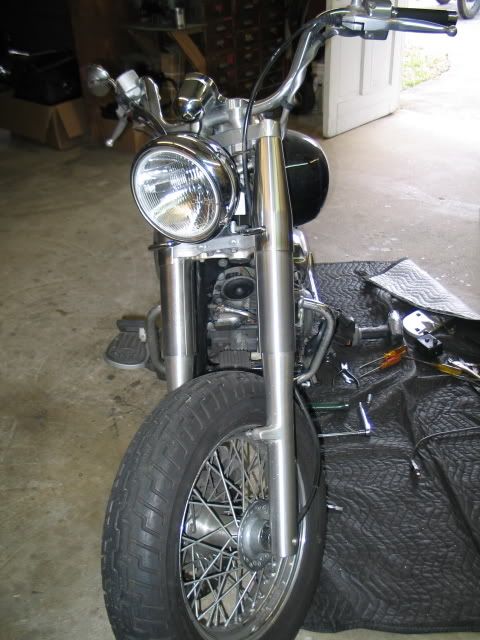 Stock exhaust, GONE  I'll get some more pics up ina day or so...as work progresses.... |
|
|
|
Post by kliff on Mar 7, 2008 14:08:55 GMT -5
 What the heck is going on here, you may ask... 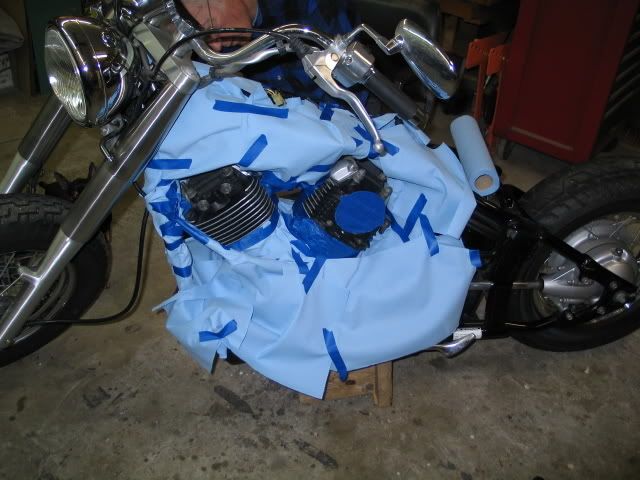 Ahh, the suttle use of color, or better yet, contrast. Not to mention that "ole skool" look, when cycles had aluminum heads and black barrels. 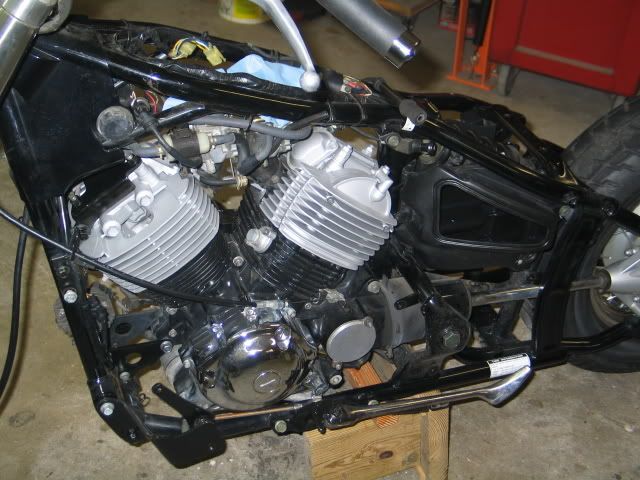 Throw in some straight appearing slip-ons.... 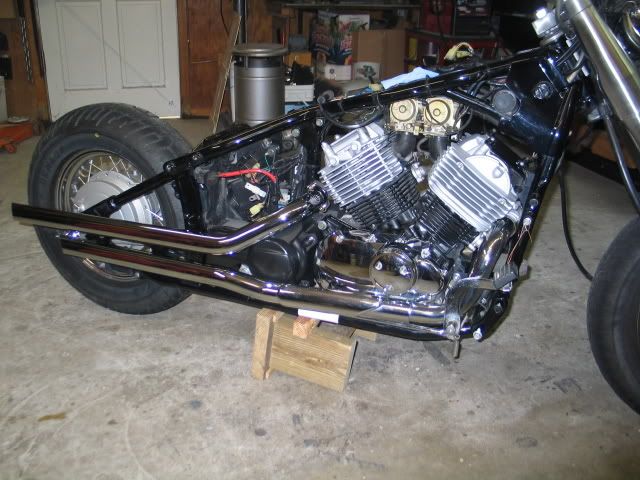 And we are really approaching that '50-60's style Bober look... So how about a quick mock-up "teaser" for Cathy? Here ya go Babe, progress is being made. 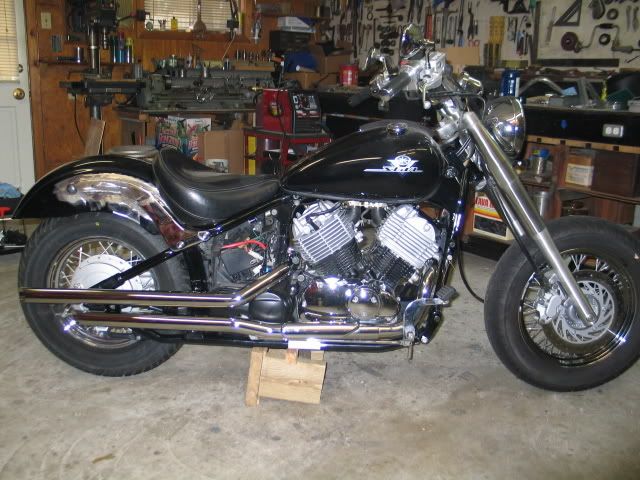
|
|
|
|
Post by kliff on Mar 11, 2008 13:30:41 GMT -5
Who said you can't install "apes" on a V-Star, with the stock wiring, brake line and cables? Balderdash, I say! Check out the H-D Dyna Wide Glide mini-apes on Cathy's sled... 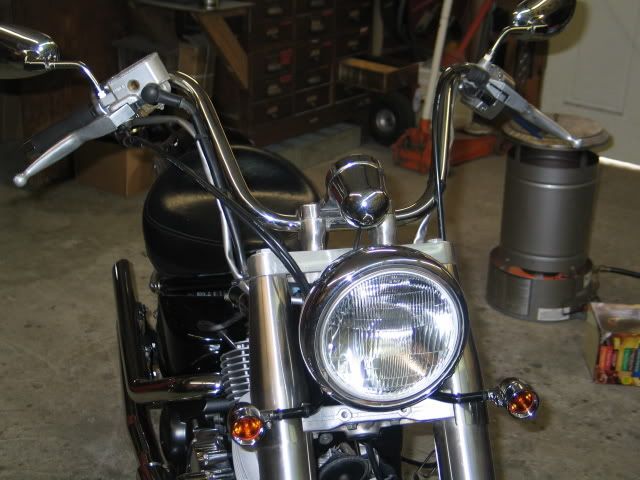 Took some serious thought, a lot of cable re-routing, and some major frustration for a couple of hours, making the puzzle worrk. But it works, nothing is strained, lock to lock on the forks, and everything works. ;D And did you by chance notice those itty bitty little turn signals...HAH! Don't judge a book by it's cover. Those are 20 watt H3 Halogen lights with amber lenses, as opposed to the OEM 3.5-5 watt bulbs. The idiot that doesn't see these signals is f'ng BLIND! Carb jets got here today....so tomorrow I get to relax...I love tweaking carbs for maximum out put.... they just sorta talk to me..."please, please.....let us BREATHE..." Don't worry my children.... daddy is here. |
|
|
|
Post by kliff on Mar 12, 2008 17:32:33 GMT -5
Ahhh, my children....come to daddy.... 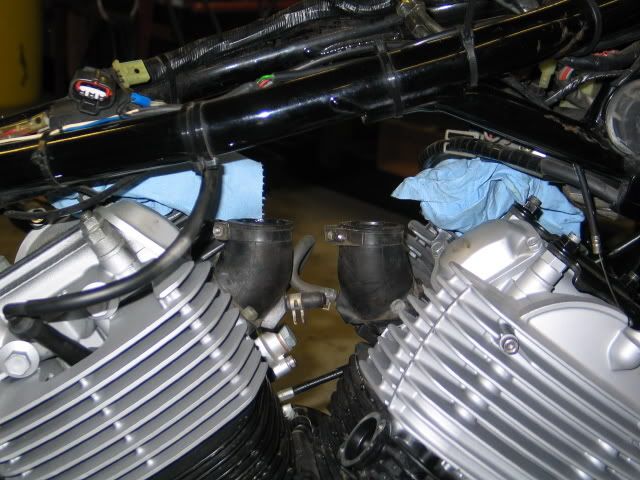 Let's see about some 127.5 mains, a couple of needle shims....and let's remove those pesky brass covers from the low speed circuit screws. And then let's dress things up a little, with a SS screw set from Ziv. 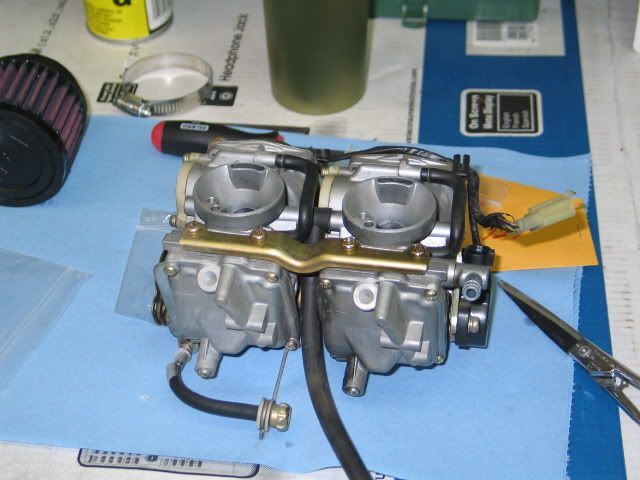 Then let's top you off with some really free breathing K&N's, to really clear up your airways. And let's not forget those HardKrome slip-on drags.... just to help you with a little flatulance...LOL! 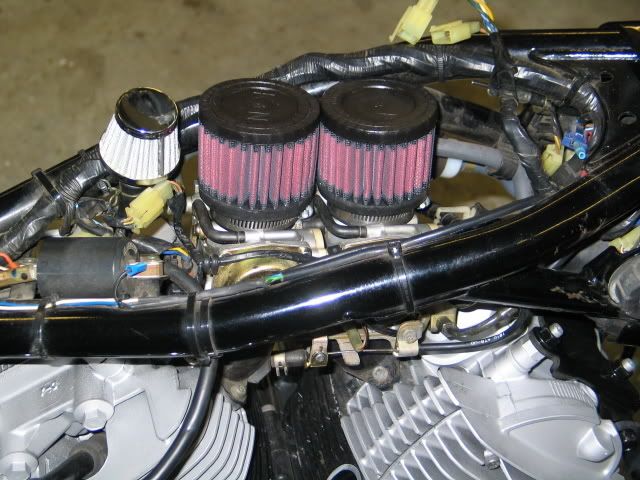 |
|
|
|
Post by kliff on Mar 13, 2008 13:29:51 GMT -5
Still just tinkerring along.... secret weapon #....uhhhh, #.... oh what the heck....trust me Babe. THIS is a secret weapon. Remember, my build, my rules.... 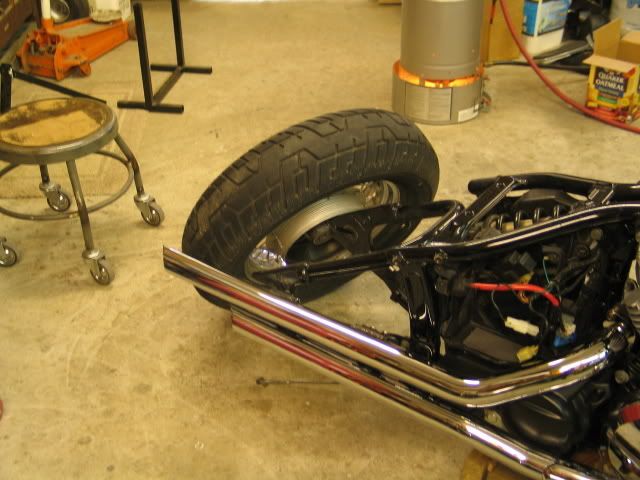 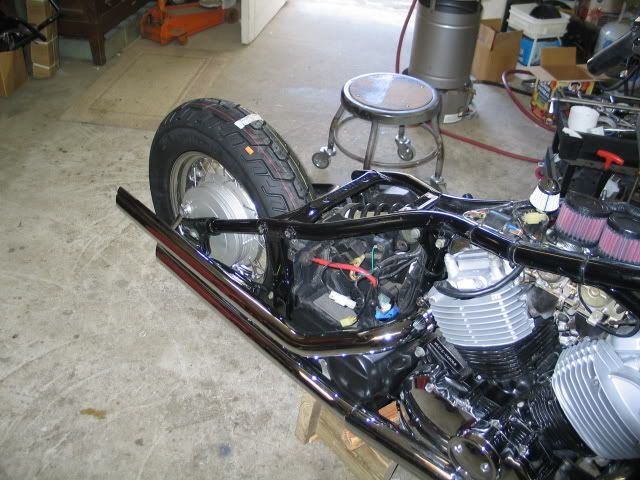 Don't even think about it....it is a proven fact, when using all available variables, and applying applicable laws of physics, that wheels go 'round, and they go 'round faster, quicker, when they are matched to the relevant available power at hand.... In other words....trust me Babe. It's all part of a plan! |
|
|
|
Post by kliff on Mar 14, 2008 13:42:21 GMT -5
Whewwwww....what a week ? Still keeping on, keepin' on. Today, we lost the foot boards, finished modifying the board mounts, and, voila, Kuryakyn pegs... 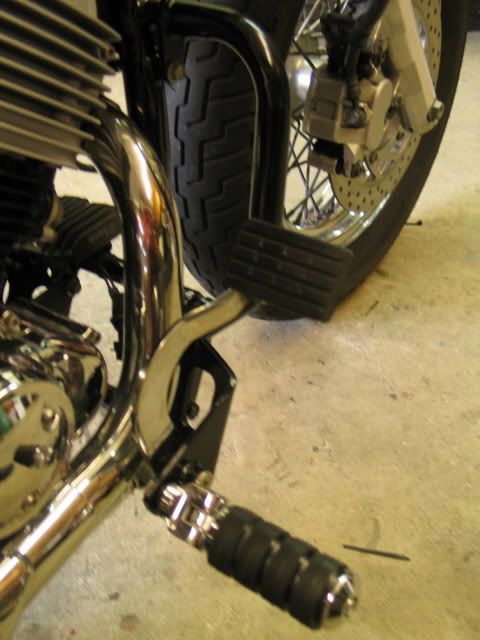 Did I mention, we've also lost the AIS, and blackenned the engine guards... 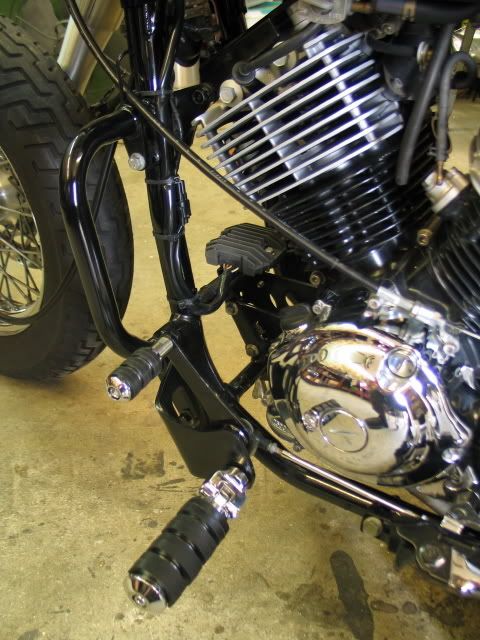 I'm liking how it's coming together so far, but still a long way to go. Week #2 complete, 4 more to go. 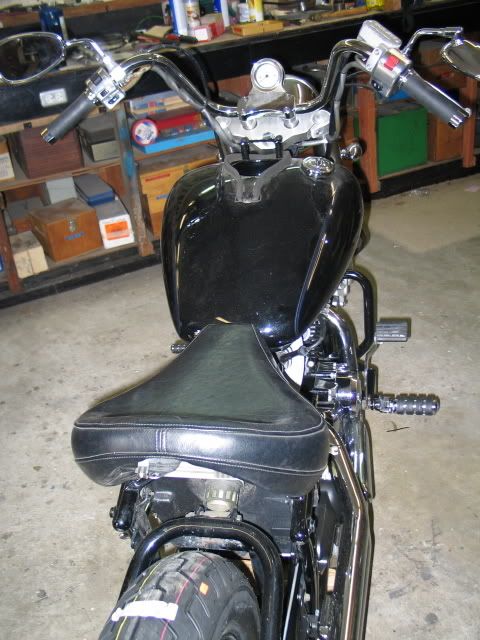 |
|
|
|
Post by kliff on Mar 21, 2008 14:04:09 GMT -5
Side mount license plate mount finished, installed, and wired....those BLUE L.E.D.'s I got from J&P for illumination have got to be seen to beleived! 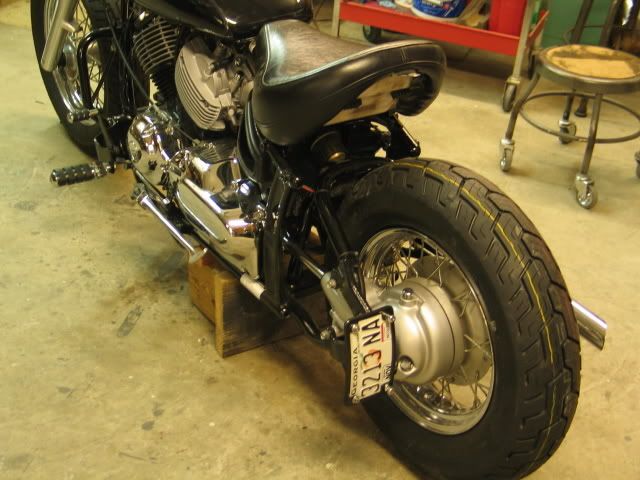 Putting some of the chrome covers back on... 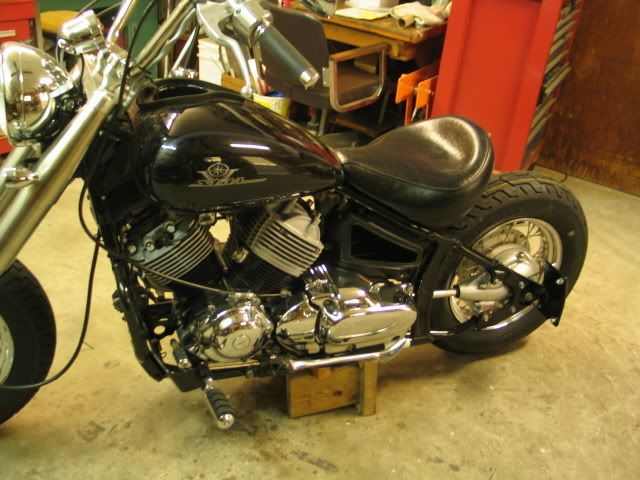 We're on the home stretch now, 3 weeks down, 3 weeks to go.....paint and body, and a little wiring......and she'll be done. |
|
|
|
Post by kliff on Mar 27, 2008 16:42:31 GMT -5
Weld, grind, fill, sand, prime, re-fill, sand, prime, re-fill, sand, prime...and so it goes. Prep work is where it's all at...prep, prep, prep... How many different coats and layers can you identify in this pic? 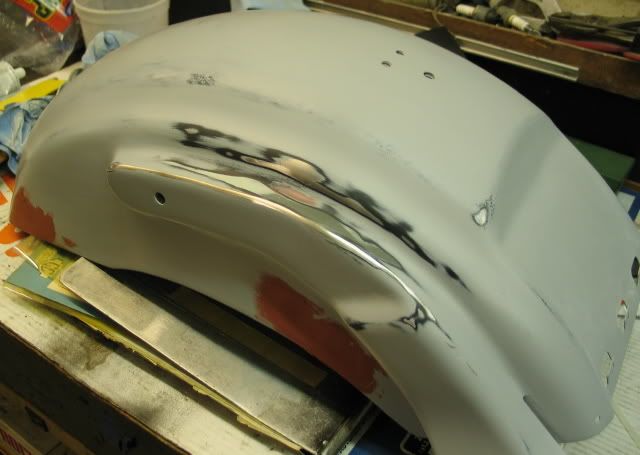 Now....multiply times THREE!  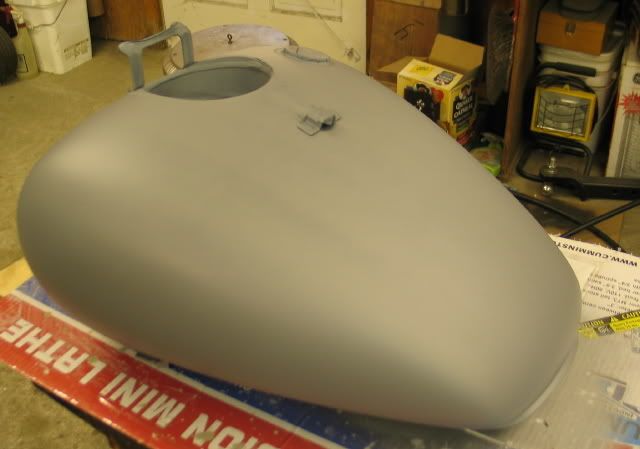 All in the search of this... 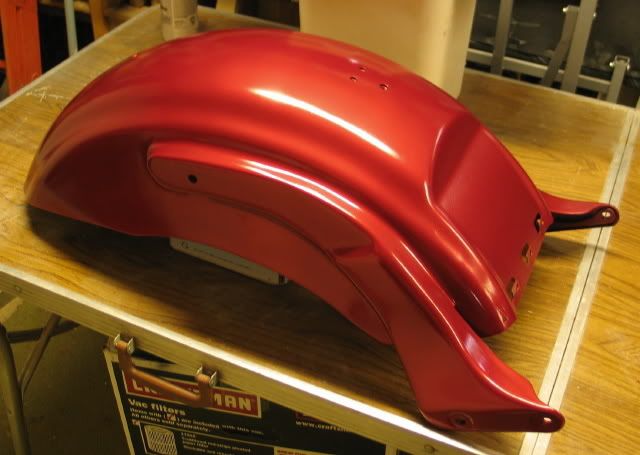 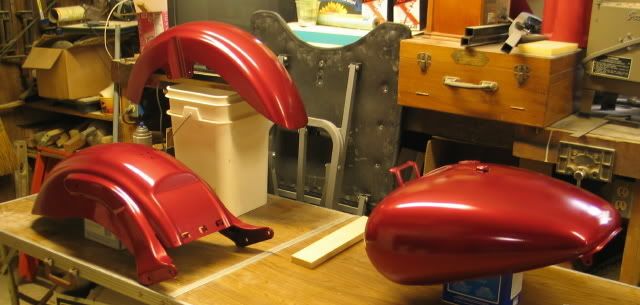 Thing is....I ain't even clear coated yet.....next week. Did I mention....up to this point, it's an all "rattle can" paint job. That all changes next week with the 2 part urethane and pearl tho... |
|
|
|
Post by kliff on Mar 28, 2008 18:37:20 GMT -5
Week 4 has come and gone. Next week, clear coat, maybe some buffing, and hopefully, final assy. If it all works out, 1 week ahead of schedule....we'll see how it turns out.
|
|
|
|
Post by kliff on Apr 3, 2008 15:31:55 GMT -5
Nearing the end of week 5, and I got some BAD news for ya. The paint job, went to crap! Everything prepped and ready, for the final coat of Dupli-Color clear coat, before the Urethane CC, and what happens.
The dreaded "paint lift." It's like that clear had an entirely different reducer in it, than the color coats, even sprayed different. The reducer penetrated all previous coats, including 2 separate layers of sealant primer to the original BLACK base and lifted the sanded edges. In other palces, it bled the black all the way to the surface, changing the entire color, similar to painting white over red.
Si, in other words, I'm now at least 1, if not 2 weeks in the hole. I'll start sanding tomorrow, and prep for a coat of hardenned enamel primer, and head for the paint store to buy a pint of silver, and red, some more hardenner, and shoot it the way I should have to begin with. Then I'll urethane, clear coat it.
Thought I could pull off something down and dirty, and reasonably cheap, to share with everyone....guess I thought wrong.
|
|
|
|
Post by kliff on Apr 9, 2008 22:14:10 GMT -5
Alrighty then! Everything got re-sanded, and primed with catalyzed enamel primer, shot in my new 39.00 special HVLP Harbor Freight paint gun. Yeah, I just wanted to try out an HVLP, before I dropped the big bucks on a SATA.
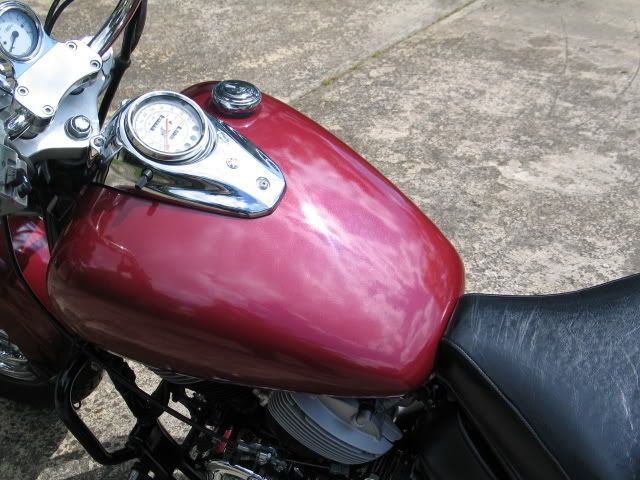
Anyway....back to the story. The primer went really good yesterday, did some 600 wet sanding today, and laid the silver Urethane base coat. Tomorrow, 800 wet, followed by Urethane Garnet Red. And maybe a few pics....LOL
Did I mention....I'm really liking this HVLP gun, and Urethane paint. I've shot Lacquer and Enamel in Vacume cup guns....as long as I can remember. This Urethane and HVLP is all new to me. And I'm really liking it.
|
|
|
|
Post by kliff on Apr 19, 2008 7:12:44 GMT -5
OK...that paint job turned to crap too! Set the gun up, was spraying good....then it all started falling apart...no, literraly. I had to start making compensation adjustments every 30 seconds, trigger feel gone.... WHASSUP?
Well, the nozzle air cap, CRACKED, part of the trigger pivot fell out....and the paint was once again, screwede in the clear coat stage.
Time to cut loose with some coin. Bought a DeVilbiss FinishLine3, and started all over...
Thanks to Webslinger at CC&D for pointing me in the right direction, and Chopd at ChopperWeb for technical guidance.
The paint is done, and I gotta say, I ain't ever, EVER layed a paint job like this! Pics next week.
|
|
|
|
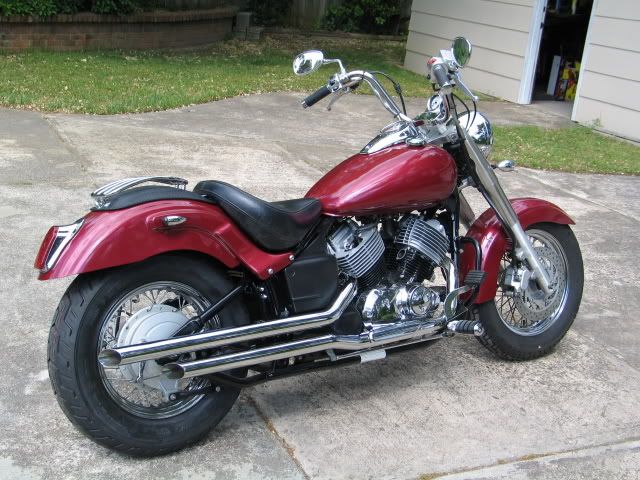
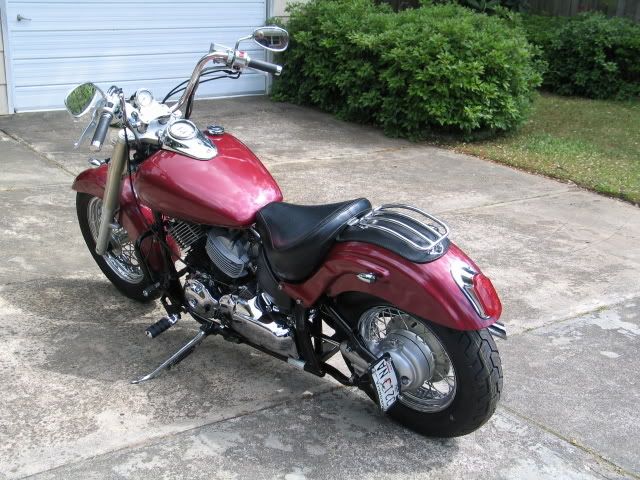
Post by kliff on Apr 21, 2008 16:47:32 GMT -5
|
|
|
|
Post by reaper on May 8, 2008 13:04:38 GMT -5
Absloutely fantastic job.
|
|
|
|
Post by kliff on May 8, 2008 16:20:46 GMT -5
LOL...Thanks again. Glad you like it.
|
|


 What the heck is going on here, you may ask...